Step-by-Step Guide to Implementing Intraoral Scanning in Your Practice
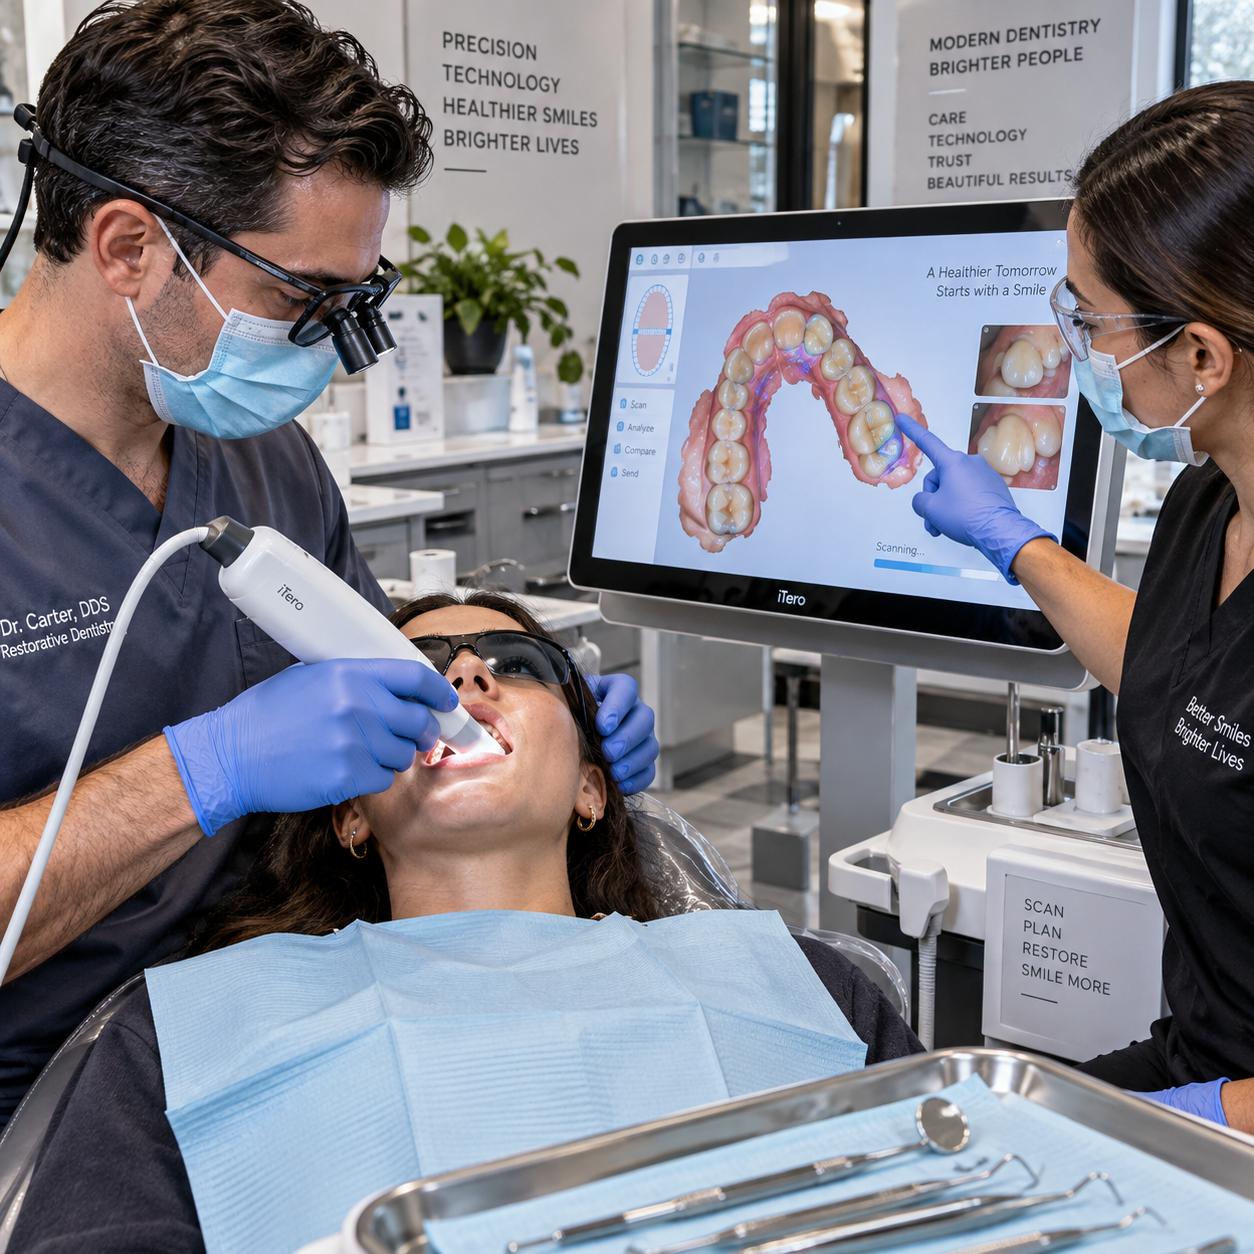
Implementing an intraoral scanner is a workflow project, not simply a hardware purchase. Successful adoption depends on choosing suitable use cases, preparing the dental practice team, connecting software and laboratories, and creating reliable quality-control steps for every digital impression.
A phased approach helps clinicians gain confidence while protecting patient records and maintaining treatment quality. The roadmap below covers the practical decisions from initial planning through continuous improvement.
1. Define Your Practice’s Goals and Use Cases
Start by defining the clinical and operational goals that intraoral scanning must support. Clear use cases help you choose appropriate technology, training, and success measures instead of buying features your team rarely uses.
List the procedures that could benefit from digital impressions, then rank them by frequency, clinical value, and ease of adoption. Common applications include:
- Restorative dentistry: crowns, bridges, inlays, onlays, and implant-supported restorations.
- Orthodontics: aligner records, progress monitoring, retainers, and appliance design.
- Prosthodontics: diagnostic records, occlusal analysis, denture planning, and complex rehabilitation.
- Patient education: showing wear, crowding, recession, fractured teeth, or restorative needs on a large screen.
- Digital records: baseline scans that support treatment planning and future comparisons.
Set a practical first objective, such as replacing selected conventional impressions for single-unit crowns or using scans for orthodontic consultations. Keep conventional impression materials available during the transition. An intraoral scanner supports clinical judgment; it does not eliminate the need to select the most reliable method for each patient and procedure.
2. Evaluate Equipment, Software, and Compatibility
Choose an intraoral scanner by matching its ergonomics, accuracy, software, and connectivity to your actual scanning workflow. The most expensive or fastest device is not automatically the best fit for every dental practice.
During demonstrations, assess the complete process rather than watching a short scan. Important considerations include:
- Ergonomics: handpiece weight, cable management, tip size, button placement, and ease of viewing the screen during treatment.
- Scanning performance: scan speed, recovery after losing tracking, handling of saliva or reflective surfaces, and performance in posterior regions.
- Accuracy requirements: whether the system is appropriate for your intended restorative, orthodontic, implant, or prosthodontic applications.
- Software features: scan trimming, tissue removal, bite registration, margin visibility, color display, annotations, and guided quality checks.
- Connectivity: open or restricted file export, cloud transfer, integration with practice management software, and compatibility with CAD/CAM systems.
- Support and total cost: training, subscription fees, replacement tips, updates, service response, and computer requirements.
Ask your main dental laboratories which file formats and communication portals they accept. Confirm how the scanner connects to laboratory design software, CAD/CAM dentistry platforms, aligner services, and milling or printing workflows. A technically capable scanner can still create delays if files require manual conversion or cannot include the prescription information the laboratory needs.
Before purchasing, run a live test using a representative case. Include scan capture, bite registration, file export, laboratory submission, and retrieval of the finished design. That end-to-end test often reveals more than a specification sheet.
3. Prepare Your Team and Practice Workflow
Prepare the dental practice team by assigning responsibilities, providing hands-on digital dentistry training, and documenting a repeatable scanning protocol. Adoption becomes easier when scanning is treated as a shared process rather than a task belonging only to the dentist.
Assign roles before the first patient
Decide who will prepare the operatory, start the case, control patient records, assist with tissue management, review scan completeness, and send files to the laboratory. A dental assistant may manage equipment readiness and file administration, while the clinician remains responsible for preparation, scan quality, occlusion, and clinical approval.
Training should combine short demonstrations with supervised cases. Begin with typodonts or cooperative patients, then progress to simple arches and single restorations. Staff should learn how to:
- Prepare and disinfect the scanner and scanning tip according to the manufacturer’s instructions.
- Control moisture, retract soft tissue, and keep the scan field visible.
- Follow a consistent arch sequence and rescan isolated gaps without unnecessarily repeating the entire scan.
- Capture buccal bite records with the patient closed naturally and the scanner stable.
- Recognize missing anatomy, stitching errors, artifacts, and incomplete distal or occlusal surfaces.
Create a one-page standard operating procedure covering patient explanation, isolation, scanning sequence, bite registration, verification, file naming, and laboratory transfer. A checklist reduces variation when different clinicians or assistants work in the same operatory.
4. Set Up the Technology and Data Processes
Set up the scanner by configuring the computer, software, infection-control process, file storage, and transfer permissions before using it for production cases. Reliable data handling is part of patient care, not an administrative afterthought.
Install the manufacturer’s software on a suitable workstation and test network performance, display visibility, user accounts, updates, and backup procedures. Configure connections with practice management software where available, but verify that patient demographics are transferred correctly before finalizing a case.
Use a consistent file-naming structure that may include patient identifier, date, arch, procedure, and version. Avoid storing identifiable scans on personal devices or sending them through informal messaging channels. Apply access controls, strong passwords, encrypted transfer, and routine backups in line with applicable privacy requirements. The U.S. Health Insurance Portability and Accountability Act guidance is a useful reference for practices operating under HIPAA, although local laws may impose additional obligations.
Build infection control into the workflow. Follow the scanner manufacturer’s instructions for cleaning, disinfection, sterilization, and tip handling; do not assume that a disposable sleeve replaces all required processing. Keep spare approved tips available, inspect equipment for damage, and record maintenance or software issues.
Before go-live, complete a mock case from patient selection to archive. Check that the scan opens correctly, the bite is attached to the correct patient, the laboratory receives the intended files, and the record remains retrievable.
5. Introduce Intraoral Scanning Gradually
Introduce intraoral scanning through a controlled pilot using predictable cases, frequent review, and clear retake criteria. Gradual adoption protects appointment flow while giving the team time to build speed and judgment.
Choose early cases such as cooperative adults, single-unit restorations, orthodontic records, or patients who are comfortable with technology. Avoid making the first pilot cases unusually difficult, including severe limited opening, extensive bleeding, unstable provisional restorations, or large edentulous areas.
Use a simple pilot cycle:
- Explain the process and obtain appropriate patient consent for digital records and their intended use.
- Prepare the field with suction, cheek and tongue retraction, dry surfaces, and visible margins.
- Scan the arch in the team’s agreed sequence, then inspect every surface.
- Capture and verify the bite registration on both sides when clinically appropriate.
- Review the scan with the clinician before exporting it to the laboratory or practice record.
- Record what worked, what caused delay, and whether a retake was needed.
Set retake criteria in advance. Retake a scan when margins are obscured, anatomy is missing, stitching creates distortion, the bite is unstable, or saliva and blood prevent reliable capture. Sending an obviously incomplete scan to a laboratory usually costs more time than correcting it chairside.
Invite feedback from clinicians, assistants, patients, and laboratories. Patients may appreciate avoiding impression trays and seeing a visual model, but appointment time can initially increase while the team learns the process.
6. Integrate Scanning Into Daily Clinical and Laboratory Workflows
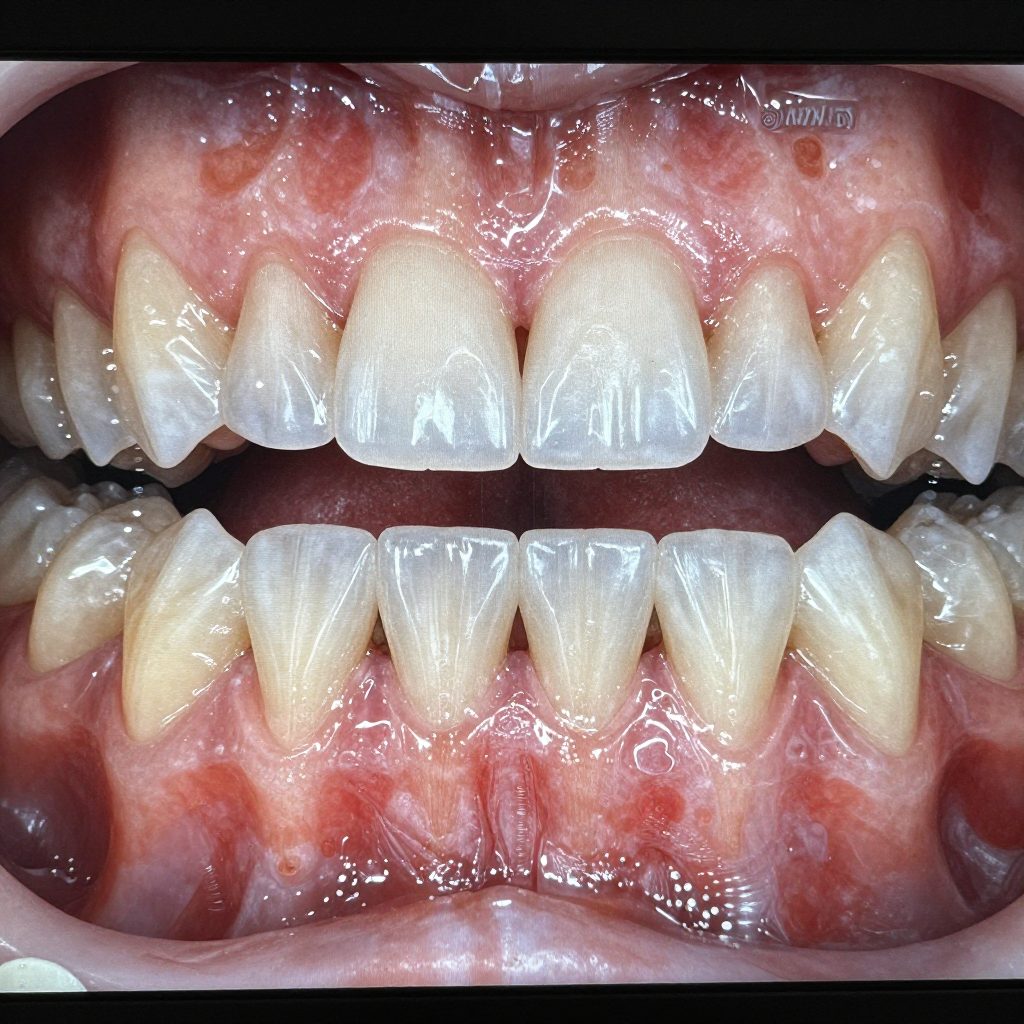
Integrate scanning into daily workflows by linking the digital impression, clinical prescription, patient record, and laboratory communication in one traceable sequence. The scan is only useful when the next person can interpret and use it correctly.
For a restorative case, the workflow may look like this:
- Confirm the patient, tooth number, restoration type, shade information, preparation status, and opposing arch.
- Scan the preparation, adjacent teeth, opposing arch, and relevant soft tissue.
- Capture the bite registration and inspect occlusal alignment.
- Mark or describe the preparation margin according to the clinician’s preference and scanner software capabilities.
- Complete the laboratory prescription with material, design instructions, photographs, provisional details, and requested delivery date.
- Transmit the files through the approved laboratory portal or integrated workflow.
- Review the laboratory’s questions or proposed design before production when the case requires it.
Use the same discipline for aligners, occlusal appliances, implant planning, surgical guides, and CAD/CAM dentistry. Store the final approved scan with the patient record, while retaining superseded versions only when they have clinical or legal value. Coordinate with each dental laboratory about turnaround expectations, file formats, scanbody libraries, and how corrections should be communicated.
7. Measure Performance and Improve the Process
Measure implementation with a small set of practical indicators: completion time, retakes, rejected scans, laboratory feedback, staff confidence, patient experience, and workflow consistency. These measures show whether scanning is improving care or merely adding a new layer of work.
Review results weekly during the first month and monthly thereafter. Useful measures include:
- Scan completion time: track from scanner activation to approved file, not only the active scanning seconds.
- Retake rate: record why scans were repeated, such as moisture, missing anatomy, poor margins, or bite errors.
- Laboratory rejection rate: distinguish clinical scan problems from prescription or file-transfer problems.
- Workflow consistency: check whether every case includes the required arch, bite, identifiers, and prescription details.
- Team confidence: ask which steps remain difficult and observe whether responsibilities are clear.
- Patient response: monitor comfort, understanding, questions, and willingness to use digital records.
Use the data to improve one bottleneck at a time. If scans fail because of saliva, revise isolation and retraction. If laboratories request missing information, improve the prescription template. If cases stall during file transfer, involve the software vendor or laboratory rather than asking clinicians to create informal workarounds.
Quality assurance should include periodic calibration sessions, equipment maintenance, review of rejected cases, and an annual check of data-security procedures. Keep conventional workflows available for cases where scanning is unsuitable or where clinical conditions make a conventional impression more predictable.
Frequently Asked Questions
Is intraoral scanning difficult for a dental team to learn?
Intraoral scanning is usually learnable with structured practice, but competence develops in stages. Most teams need supervised cases to learn moisture control, scan sequencing, bite capture, and quality verification. A written protocol and feedback from a dental laboratory shorten the learning curve.
How long does it take to complete a digital scan?
The time varies with the scanner, arch condition, operator experience, patient cooperation, and procedure. A simple case may be completed quickly, while full-arch scans with tissue management and verification take longer. Track total chairside time during your pilot instead of relying on advertised scanning speeds.
Which dental procedures benefit most from intraoral scanning?
Restorative dentistry, orthodontic records, digital study models, appliances, implant restorations, and patient education are common starting points. The best applications are those with repeatable anatomy, a clear laboratory pathway, and enough case volume to build team proficiency.
How should intraoral scanner data be stored and shared?
Store scans in approved practice systems with controlled access, backups, and consistent file names. Share files through encrypted vendor or laboratory portals, and follow applicable privacy law, consent requirements, and the practice’s data-retention policy.
What are the most common mistakes when introducing intraoral scanning?
Common mistakes include buying a scanner without testing laboratory compatibility, scanning without a moisture-control plan, sending incomplete files, skipping team training, and measuring only scan speed. Correct these issues with a pilot, defined retake criteria, a standard operating procedure, and routine quality assurance.