Case Study: Full-Arch Implant Restoration Using Digital Workflows
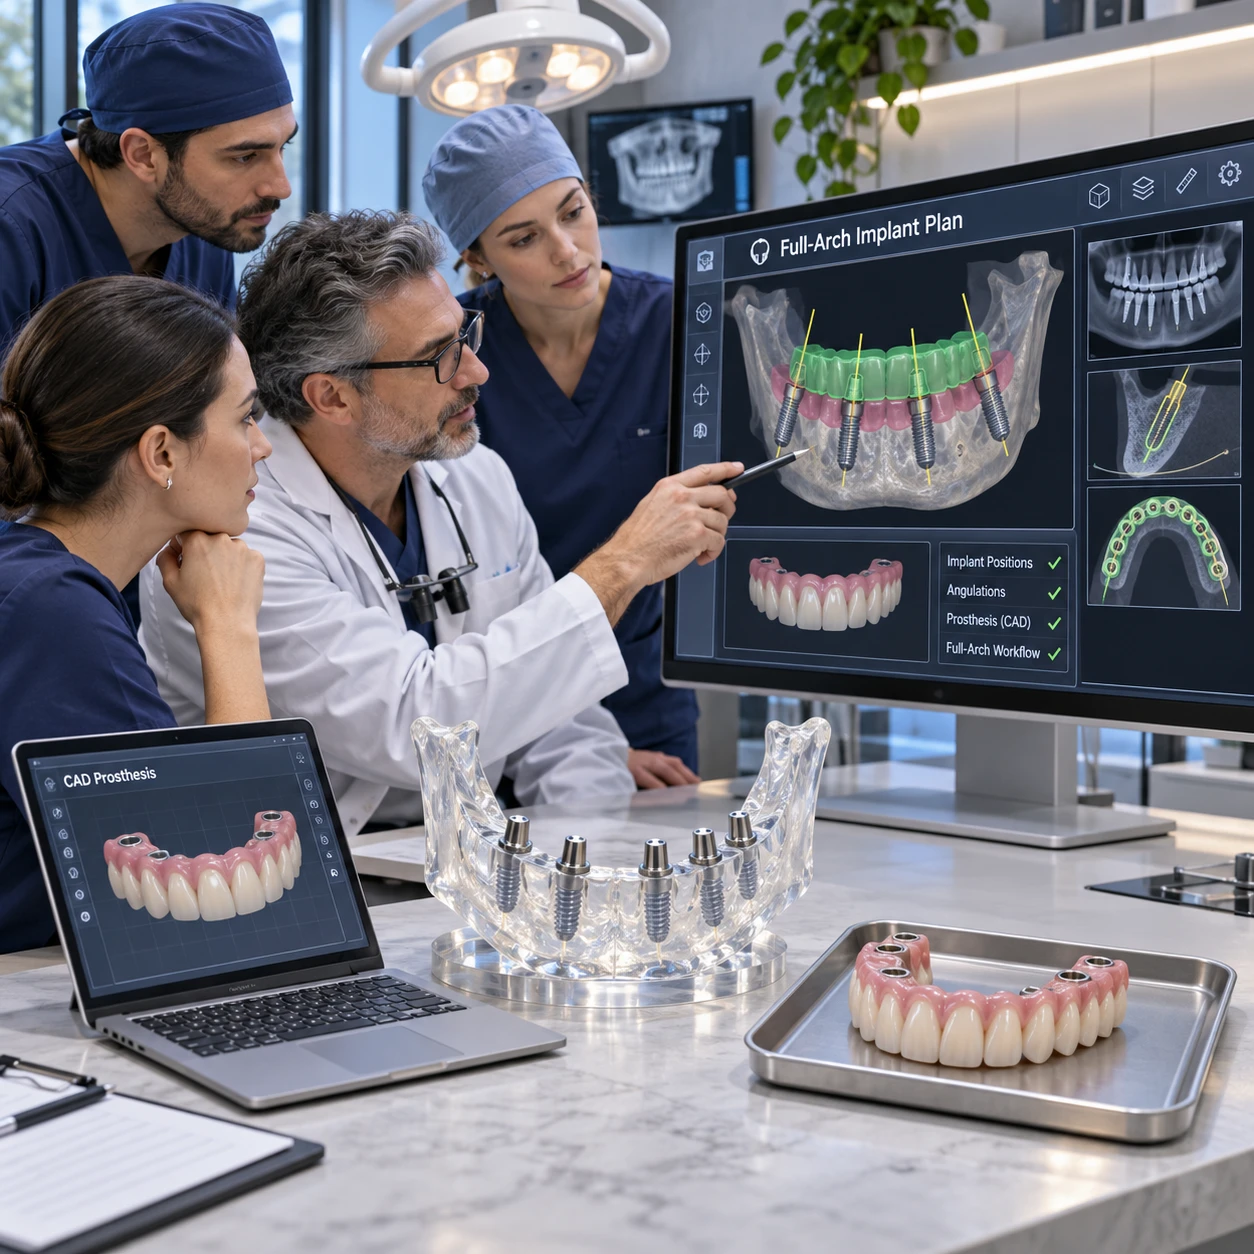
A digital workflow can connect diagnosis, implant planning, laboratory design, and prosthesis verification in a full-arch implant restoration. This illustrative case follows that sequence while distinguishing workflow decisions from patient-specific clinical outcomes, which depend on examination and professional judgment.
Case overview and treatment goals
A full-arch implant restoration replaces or rehabilitates an entire dental arch with an implant-supported prosthesis. In this illustrative scenario, an adult patient presents with a compromised arch and seeks a fixed restoration; the clinical team’s first task is to assess whether that goal is suitable and define a plan around the patient’s anatomy, health, and preferences.
The case begins with a consultation, examination, and discussion of priorities. These may include appearance, speech, chewing, hygiene, treatment sequence, and whether a provisional restoration is appropriate. The team records the existing dentition or prosthesis, soft-tissue condition, bite relationship, and relevant medical history. No single digital scan can establish the full diagnosis.
The intended outcome is a prosthesis that can be positioned and maintained appropriately, with implant placement planned in relation to both anatomy and the restoration. The team also identifies what the case will document: the records used, planning decisions, implant positions, laboratory handoffs, verification findings, and follow-up observations. This avoids presenting a planned workflow as proof of a particular clinical result.
Digital records and diagnostic planning
Digital treatment planning combines clinical examination with complementary records, commonly including intraoral scans, cone-beam computed tomography (CBCT), photographs, and bite information. Each record answers a different question, so the plan depends on checking how well they align and whether they capture the anatomy needed for the case.
Intraoral scanning can capture teeth, accessible soft tissues, and occlusal surfaces as a digital model. In an edentulous arch, scan quality and the visibility of stable landmarks can be challenging; the team may need additional records or an alternative capture method. A scan does not show bone anatomy or replace a clinical assessment.
CBCT provides three-dimensional information that can support evaluation of bone and nearby anatomical structures. The clinician reviews the images in context, selecting imaging and exposure according to the diagnostic need and applicable radiation-safety guidance. For background on CBCT in dental practice, see the U.S. Food and Drug Administration’s overview.
When appropriate, the clinical team aligns the surface scan and CBCT data in planning software. Photographs, facial information, existing prostheses, and a record of the bite may add restorative context. Before planning proceeds, the team checks for missing areas, scan distortion, motion or imaging artifacts, and uncertain registration. A digital model can look precise while still containing errors inherited from its source records.
Coordinating the surgical and restorative workflow
Digital planning connects the proposed prosthesis with implant positions by letting the clinical and laboratory teams review the restoration and anatomy together. The plan can inform surgical decisions, but the clinician must still assess the patient, confirm the plan, and adapt to findings during treatment.
The restorative team first considers the intended tooth arrangement, available space, access for cleaning, and the design of any provisional or final prosthesis. The proposed restoration helps define where implants may best support it, while CBCT findings and clinical examination constrain what is feasible. This restorative-first discussion can expose conflicts early, such as a proposed tooth position that does not align well with available anatomy.
If a surgical guide is planned, its design and use depend on the case, the imaging and scan records, and the chosen surgical approach. A guide can transfer aspects of a digital plan; it cannot guarantee that implants will follow the plan exactly. The clinician verifies fit and stability and evaluates the site during surgery. Any meaningful deviation should be communicated to the restorative team before prosthesis design is finalized.
After implant placement, the team records the actual clinical situation. Depending on the system and case, photogrammetry may capture the relative positions of implant scan bodies across an arch. The captured positions, scan-body identification, and soft-tissue or bite records should be checked before the files go to the laboratory. Photogrammetry is a measurement input, not a substitute for confirming that the resulting prosthesis fits clinically.
Designing and fabricating the full-arch prosthesis
CAD/CAM prosthesis design turns verified clinical records into a proposed restoration for review and fabrication. The dental laboratory needs clear, consistent files and instructions, and the clinician must approve the design against the patient’s anatomy, functional needs, and treatment plan.
The clinic and laboratory agree on the case package before design begins. It may include the approved implant and component information, photogrammetry data or other implant-position records, opposing-arch scan, bite registration, photographs, provisional design, and written notes on material and restorative preferences. File naming, version control, and a named contact for questions help prevent a superseded scan or unapproved design from being used.
During CAD/CAM design, the laboratory considers implant interfaces, restorative space, material requirements, tooth position, contours, emergence profile, phonetics, and access for hygiene. The clinician reviews a digital proposal and requests changes where needed. Depending on the case, a prototype or provisional can provide an opportunity to evaluate appearance, speech, comfort, and function before final fabrication. It is a useful checkpoint, though it adds a step and does not remove the need for final verification.
Fabrication may involve milling or other laboratory processes selected for the restorative design and material. The team confirms that the manufactured components match the approved design and prescribed implant connections. If clinical implant positions differ from the planning records, the laboratory should receive updated information rather than being asked to compensate from an inaccurate file.
Delivery, verification, and follow-up
Before delivery, the clinical team verifies that the prosthesis seats appropriately, its components are compatible, and its occlusion and appearance are acceptable. Follow-up then checks healing, function, hygiene, and maintenance needs; digital records support these steps but do not replace direct clinical assessment.
At try-in or delivery, the clinician checks seating and fit using appropriate clinical methods for the prosthesis and implant system. The team confirms component identity and follows the manufacturer’s instructions for connection and tightening. If the restoration does not seat as expected, the cause should be investigated before force is applied or the prosthesis is accepted.
Occlusion and fit verification includes assessing contacts in the bite and, where relevant, during excursions, as well as checking comfort, speech, appearance, and access for cleaning. The clinician documents adjustments and any concerns. A useful record may include the final prosthesis design, component details, delivery date, verification findings, and baseline photographs or scans when clinically appropriate.
Follow-up timing and maintenance are individualized. The team evaluates tissue response, prosthesis function, hygiene, and patient-reported concerns, then plans recall and professional maintenance. A case report should state what was actually observed at each follow-up and over what period. It should not infer long-term success from an uneventful delivery appointment.
Workflow lessons and limitations
A digital full-arch workflow works best when records are complete, teams agree on responsibilities, and each transfer includes a verification step. Its practical value comes from a traceable sequence of decisions, not from assuming that software or scanning removes uncertainty.
Three checks can help teams manage the workflow: capture the needed anatomy and restorative information, coordinate a single approved plan across clinic and laboratory, and confirm that each digital output matches the clinical situation before the next stage. This capture–coordinate–confirm framework is simple enough to use at handoffs, where errors can otherwise travel unnoticed into later work.
- Incomplete records: Teams may proceed because a scan appears visually clean. Missing anatomy, weak landmarks, or a poor bite record can undermine alignment and design. Review source files and request new records when the information is insufficient.
- Unclear plan changes: A revised implant position or prosthetic design may not reach every team member. Use dated versions, document approvals, and send updated files with a concise change summary.
- Overreliance on planned positions: A guide or digital plan may be treated as a guarantee. Confirm actual implant positions and update the laboratory when clinical findings differ.
- Skipping clinical verification: A digitally fabricated restoration may be assumed to fit because the files aligned. Check seating, components, occlusion, and patient-specific function before completing delivery.
Digital workflows also have limits. Equipment, software compatibility, operator experience, scan conditions, and laboratory capacity can affect the process. Some cases require conventional records or additional clinical steps. Ultimately, the clinician remains responsible for diagnosis, treatment decisions, and determining whether the restoration is acceptable.
Frequently asked questions
Which digital records may be needed for a full-arch case?
Records may include intraoral scans, CBCT imaging when clinically indicated, photographs, bite registration, implant-position data, and information about the opposing arch or existing prosthesis. The exact set depends on the patient and planned restoration.
How can digital tools support communication between the clinic and laboratory?
Shared scans, planning files, photographs, and approved CAD designs let both teams review the same restorative context. Clear instructions, file versions, and documented approvals matter as much as the software.
What should be verified before delivering the prosthesis?
Confirm appropriate seating and fit, compatible components, occlusion, appearance, speech and comfort as relevant, and access for hygiene. Record the checks and resolve unexplained discrepancies before delivery.
What factors can limit or complicate a digital workflow?
Incomplete or distorted scans, CBCT artifacts, registration errors, limited access to landmarks, software incompatibility, changes during surgery, and unclear handoffs can all complicate the process. Clinical judgment and direct verification remain essential.